Getting started
Account Settings
In your account settings, you can find a button called Storybuilder. Click on that, and you gonna be redirected to the dashboard of Storybuilder. Visiting www.vuppetmaster.com/storybuilder you can login directly into Storybuilder using your account. Regarding the creator’s account the corresponding projects are shown.
Here you can find your projects, licenses and team members. Click on ‘Add new Project’, to create a new entry.
Open the dashboard and click the '+' button
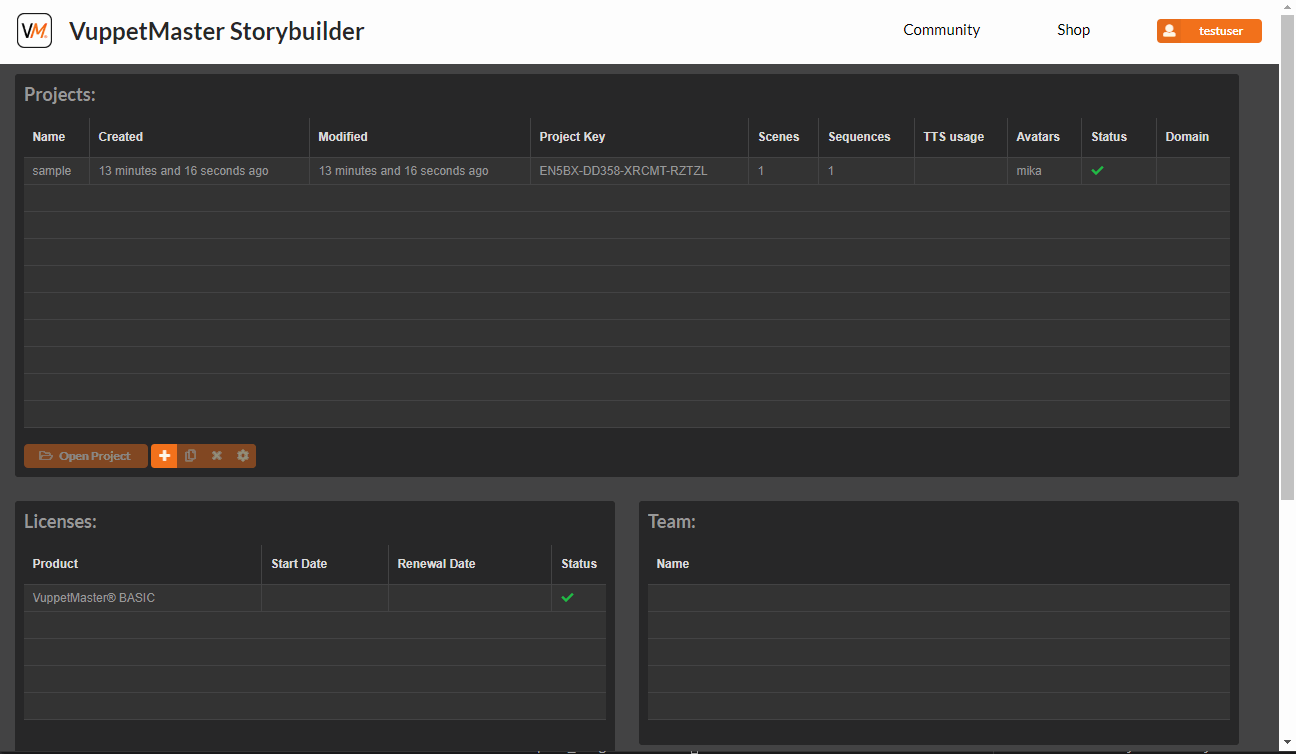
As you can see there are some information about your project available. When it was modified, the project key for implementations, how many animations are included, the amount of TTS usage, which characters have been chosen, the status, and the domain. Select your project and click on the open folder icon, to open the project in Storybuilder.
Structure of StoryBuilder
Get to know the structure of VuppetMaster’s Storybuilder. Learn how to add, copy or delete certain elements, where to find which functions, how the available resources are arranged (where to find motions or emotions), as well as how to create animations and sequences.
Text Content and Stylesheet
Learn how to use the Text Content to add spoken and written text to your project and how to import and export texts you have already created as well as translating them into another language. If you have programming skills, you can define certain contents in the stylesheet.
Create, duplicate and rename projects
Find out more about how to create your first own project, open it and give it your desired name but also how to copy or delete existing projects.
Save projects
It is important to save the project in between so that changes in the project are not lost. How to do this and how to see if there are any unsaved changes is explained in this tutorial.
Add avatars and language to projects
Learn how to add an avatar to your project so that you can assign texts and movements to it afterwards. Find out how to change the language of your project and avatar.
TTS, animations and sequences
With the help of the innovative TTS technology, which stands for Text-to-Speech, written text can be easily converted into spoken text. Learn how to create animations in which you can assign these TTS modules to specific motions and emotions, and how to complete your project by adding these animations to sequences.
Pronunciation
Due to its synthetic language the digital avatar sometimes pronounces certain words (in your own language or in other languages) incorrectly. In this tutorial you can find out how to avoid this problem.
Play and pause projects / Fast-forward, zoom in and out
Learn how to play your animations, sequences and scenes in regular screen format and full screen. Find out how to use the timeline to scroll to a specific point in time and zoom in and out.
Camera setting
Learn how to change the perspective of your digital avatar using the camera angle. This allows you to move your avatar closer or further away. You can position different camera perspectives individually in your sequences.
Add images, videos and audios
To make your project even more diverse, you have the option of integrating different types of media such as images, videos and audio. You are wondering how this works? Have a look at this tutorial.
Size and position of images and videos
In the previous tutorial you have already learned how to upload images, videos and audio. If you are wondering how to position and resize these different media types, check out our tutorial.
Standard Background Image
You have the option to choose a background image in a project. This will be displayed in the background either during the whole scene or during certain sequences. You will learn how this works in this tutorial.
Insert buttons
Learn how to add buttons with text content to your project to make it more interactive.
Set buttons as answer options
The VuppetMaster Storybuilder is suitable for instructions and trainings. For this purpose, already inserted buttons can be set as additional response options. These can then be coded as correct or incorrect. See for yourself how you can develop your own training course.
Insert written text
Learn how to insert written text fields into your project, for example to highlight certain words or phrases or to provide additional explanations.